
Crystal Shrimp Tank Setup Guide
Table of Contents
(This article contains many GIFs results the loading will be slower, thank you for your patience)
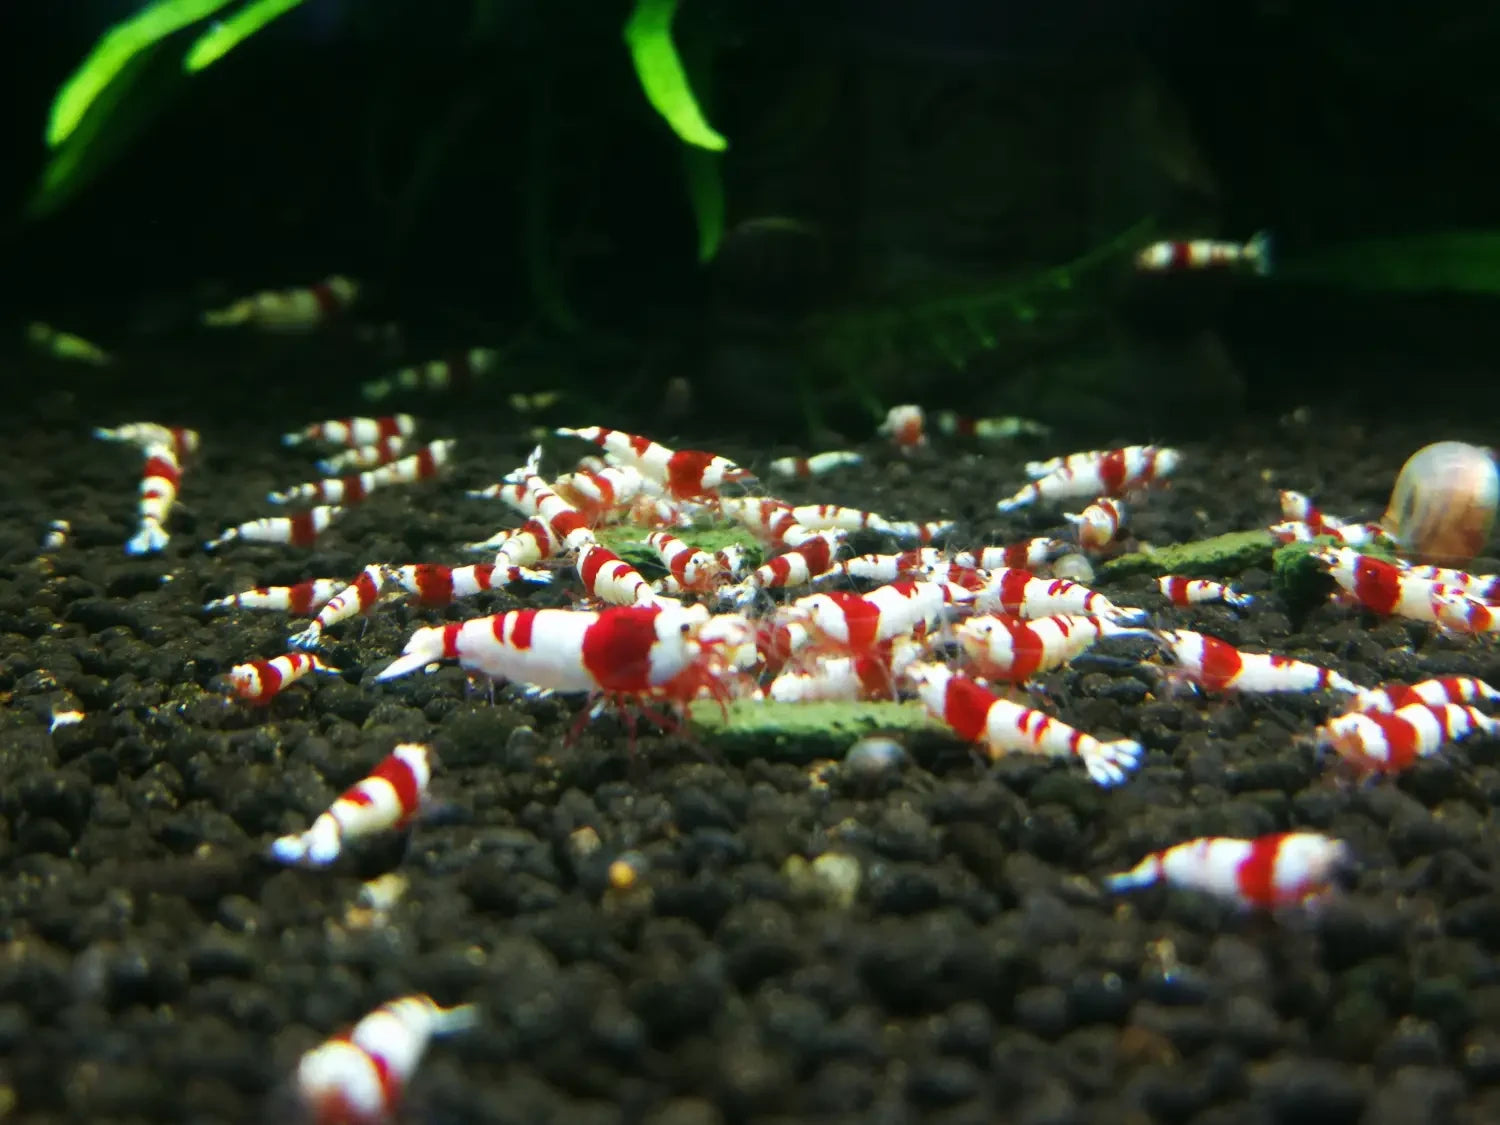
In this article we will be sharing our way to set up a 90x40x30 cm breeding tank for caridina shrimp (crystal shrimp). This setup has been proven to be successful for promoting crystal shrimps’ breeding and improving survival rates. Although you may not have the same size of tank, most of the steps are similar for any size of tanks.
Preparation
Lighting: Neo-Helios XP 800 Flat Led

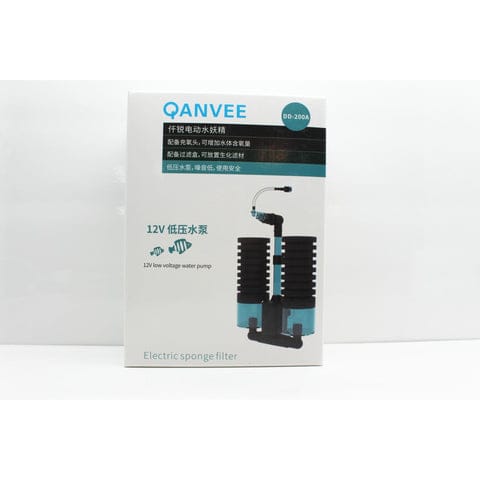
Sponge Filters: 2x QANVEE QS200A, 1x QANVEE DD-200A

Air Pump: Central Air System. Any common air pumps would work
Aqua Soils: 1x ADA Amazonia Normal 9L, 1x Netlea Aqua Soil 3L


Others:
Nishiki-Ebi Concentrated Enzyme 5-8 spoons

Biozym Nitrifying Bacteria 3 capsules

Mineral Rocks 1 piece

Acrylic Shrimp Feeding Fence

Setting Up the Tank
- Position the Acrylic Shrimp Feeding Fence right in the middle
- Disperse the nitrifying bacteria capsule contents and concentrated enzymes evenly throughout the surface
-
Scoop the ADA Amazonia Normal soils into the tank, our goal is to make it 2-2.5 cm in depth
- Pour the Netlea soil on top of the ADA, then flatten the surface with a tool or your palm. The overall depth of soils should between 2.5 and 3 cm
- Connect all the sponge filters
-
Spray the soils with water thoroughly, then fill up the tank with remineralized RO waters. TDS is not important for now
- Finally, put the mineral rock piece in, then power up the air pump and electric sponge filter, and we have finished the setup
After the Setup
With borrowing this setup on your shrimp tanks, you need to keep the tank cycling for a total of 4 weeks (28 days) before adding the crystal shrimps.
Keep 3 - 5 hours of lighting everyday during the cycling. You can also add some low-demanding plants into the tank 3 days after the setup.
Water Change
After 2 weeks (14 days): 50% water change
After 3 weeks (21 days): 50% water change
After 4 weeks (28 days): 1/3 water change, adjust the TDS to 90-120, now you are able to add shrimps
Further: bi-weekly 25% water change
Rationale
Lighting
Crystal shrimp is not very demanding on lights, your choice on lighting should focus on showing natural colors and the plants in the tank.
Sponge Filters
Sponge filters are very important for crystal shrimp, they can clean and oxygenate the shrimp tanks. Using one electric sponge filter can increase the filtration and flow rate, but it’s not necessary for smaller tanks. With comparing to other types of filters, sponge is the most cost effective and safest for baby shrimps.
Air Pump
most of the air pumps on the market would work.
Aqua Soils
ADA Amazonia Normal is so far the best aquarium soil for crystal shrimp, it can continuously provide buffers to the shrimp tank for up to 2 years. It’s richness in nutrients could also feed more microorganisms which becomes the food for crystal shrimps, therefore greatly increasing their survival rate.
The Netlea aquarium soil is a more cost-effective replacement option, it is also rich in nutrients but the buffer usually lasts shorter (lasts 12-16 months) than the ADA Amazonia soil Normal (lasts up to 24 months). A thin layer of Netlea aquarium soil can also prevent the ADA Amazonia Normal soil from exposing to the water flow which causes yellow water. That also explains why the water is almost crystal clear right after we fill up the tank.
Having 2.5 - 3 cm depth of soils is optimal according to our experiments regardless of tank size: it is expected to last for 2 years. Under 2.5 cm, the lifespan of the soils is much shorter, you may need to replace them within a year. Over 3 cm, it costs more for a small improvement in soil lifespan while introducing a much higher risk of NO2 explosion which kills the shrimps.
Others:
Nishiki-Ebi Concentrated Enzyme is the product we would use for almost any type of tank setup. It can greatly enrich the microorganisms therefore increasing shrimp survival rate and stability of the water system.
Biozym Nitrifying Bacteria is another product we would use for almost any type of tank setup. This product can help speed up the formation of a stable nitrogen cycle.
Mineral Rocks have been proven effective for shrimps growth by many breeders and researchers, more related researches and materials can easily be found online.
Acrylic Shrimp Feeding Fence avoids wasted foods directly into the soils therefore easier to clean up. In addition, it is ideal for baby shrimps to pick up the tiny food crumbs on the glass instead of soils. A glass feeding dish is also an alternative.
Notes
- Shallow (25-35 cm in height) tanks are optimal for crystal shrimps, they need more surface space instead of deep water for activities
- A 28-day cycling period is only applicable for ADA Amazonia Normal type soils, Using the other versions of ADA or other brands of soils will have a shorter cycling period in general
- Aqua soils must be sprayed thoroughly before filling up water, otherwise many of them will float then create more dust.
- Do not add the shrimps into tank before the 28-day cycling period ended, even though the water parameters look “right”, the NO2 explosion can kill all the shrimps in one day
- Using the RO water since the tank setup is to avoid any possible algae and pests from tap water
- Avoid rocks in shrimp tanks, use lava rocks if necessary
- Using any remineralizers (ex. Salty Shrimp) that designed for crystal shrimps would work. NUTRAFIN African Cichlid Conditioner is another inexpensive replacement that has been proven to be effective.
Conclusion
The maintenance for crystal shrimp tanks are fairly easy, the setup of the tank therefore becomes the most important part in crystal shrimps breeding.
With borrowing this setup to your shrimp tanks, you will get a 100% success rate on crystal shrimps breeding. In most of the cases, you don't need to spend any on water parameter monitors (even pH meter), except for the TDS meter. The water parameters will always be right with using this setup.
Leave a comment